
 If you’ve decided to try Nagios and install it through your distributions packaging system, you might notice that the version you get is quite old. Some features or addons you want might not work with earlier releases. So you decide to download the Nagios tarballs and install the old fashioned way. Though not as simple as just typing ‘yum install nagios’ or ‘apt-get install nagios3’, you really get the sense that you’ve done something. A problem with this approach is if you have to replicate it later, you might have forgotten some configure option you used or lost the list of prerequisites for various plugins. In a perfect world you would always document your setup. Unfortunately a lot of people don’t live in that perfect world. However on the bright side, there are tools like Ansible which lets you automate a lot of tasks. Another benefit in this case is that Ansible Playbooks also can serve as s system documentation.
I’ve created an idempotent Ansible Playbook which installs Nagios from source and tested it on Ubuntu 14.04 LTS, Debian 7.5 and CentOS 6.5. The playbook comes bundled with Nelmon.
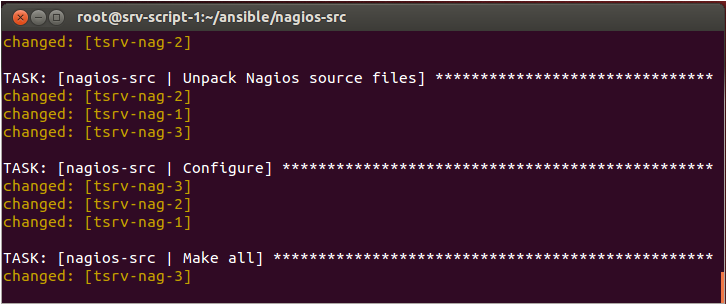
Once the playbook is executed Ansible will:
This will give you a basic Nagios setup. It is not intended to be a complete solution. The goal is to show you what you can do with Ansible to standardize your setup. You can of course also add configuration to the Playbook so that you can completely reinstall and configure your Nagios setup.
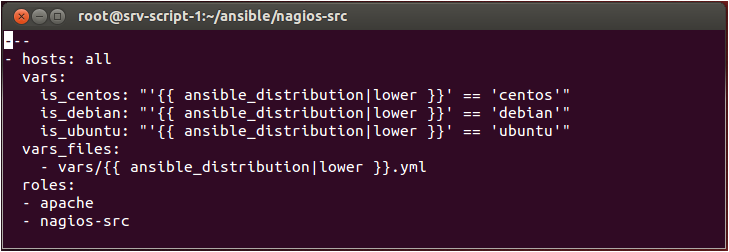
The first thing you have to do is to setup Ansible which isn’t covered in this guide. Then download the files to your server and look in the ansible/nagios-src directory. Inside the group_vars catalog there is a file called ‘all’ which contains variables. The variable you should change here is the nagiosadminpass variable which controlls the password which is assigned to the nagiosadmin user. Then if Nagios has released a new version, and I haven’t changed the Playbook yet you can modify the other variables.
The site.yml file (in the nagios-src base directory) is the actual playbook file. Depending on your setup you might want to change a parameter in this file. By default it will run against all your hosts and you can change this by setting the ‘hosts’ variable to an Ansible group.
Another option is to just define your server(s) on the command line. This will run the Playbook against srv-nagios-1 and srv-nagios-2.
ansible-playbook site.yml -l srv-nagios-1,srv-nagios-2
The above command would login to the servers with ssh keys and try to use user you are currently logged in with. In my environment I’ve created a user called ‘deploy’ and would instead run the playbook like this:
ansible-playbook site.yml -l srv-nagios-1,srv-nagios-2 -u deploy -s
The -u is for user and -s is for sudo. If you had changed the hosts variable in the site.yml file you can also run the playbook without the -l (limit) option.
ansible-playbook site.yml
Now you should have used Ansible to install Nagios. Login to your site by going to http://[ip-address]/nagios and login with the nagiosadmin user. The next step is to configure Nagios.
If you would like to see another distribution, please leave a comment and I’ll take a look. Also I’ve tried this Playbook against machines with a default install, let me know if you run into trouble and I’ll try to fix it.